Руководство Android Internal Storage
1. Android Internal Storage
Android Internal Storage: Это место хранения личных данных каждого приложения, эти данные хранятся и используются этим же приложением. Другие приложения не имеют доступа. Обычно, когда приложение удаляется с устройства Android, сязанные файлы данных так же будут удалены.
Еще одна особенность, это при работе с файлами данных во Внутренней памяти, вы можете работать только с простыми файлами, и не сможете работать с файлами имеющими ссылку.
Открыть файл и написать.
// Is a simple file name.
// Note!! Do not allow the path.
String simpleFileName ="note.txt";


// Open Stream to write file.
FileOutputStream out = openFileOutput(simpleFileName, MODE_PRIVATE);
У вас есть 4 варианта записи:
Режим | Описание |
MODE_PRIVATE | Это режим по умолчанию, написанный файл используется только приложением который создал этот файл, или имеющий тот же User ID. |
MODE_APPEND | Режим добавления данных в существующий файл. |
MODE_ENABLE_WRITE_AHEAD_LOGGING | |
MODE_WORLD_READABLE | Эти режими очень опасны. Похожи на дыру в безопасности Android, лучше не использовать, вы можете использовать заменяющие техники как:
|
MODE_WORLD_WRITEABLE | Эти режими очень опасны. Похожи на дыру в безопасности Android, лучше не использовать, вы можете использовать заменяющие техники как:
|
MODE_MULTI_PROCESS | Режим позволяет запись нескольких процессов (process) в файл. Но мы не рекомендуем использовать этот режим потому что он не работает на некоторых версиях Android. ы можете использовать заменяющие техники как:
|
Открыть файл прочитать данные:
// Is a simple file name.
// Note!! Do not allow the path.
String simpleFileName = "note.txt";

// Open stream to read file.
FileInputStream in = this.openFileInput(simpleFileName);
2. Пример чтения и записи данных во внутренней памяти
Теперь вы можете создать пример записи данных в файл, который будет сохранен во внутреннй памяти, и читать данные из этого файла.
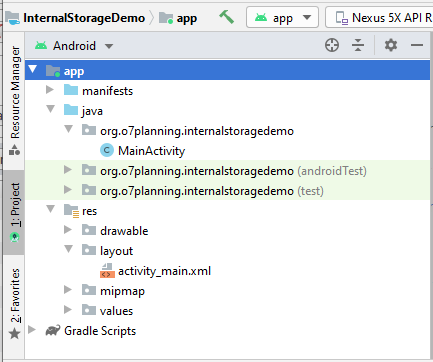
Создать project с названием InternalStorageDemo.
- File > New > New Project > Empty Activity
- Name: InternalStorageDemo
- Package name: org.o7planning.internalstoragedemo
- Language: Java
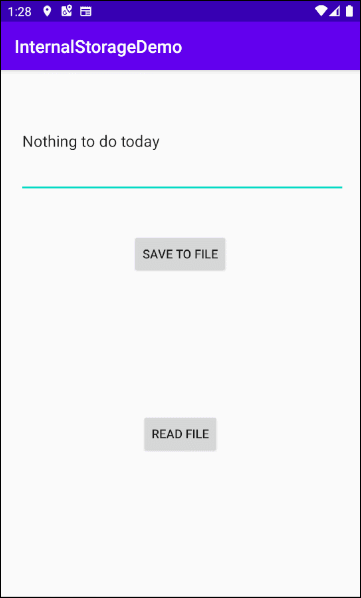
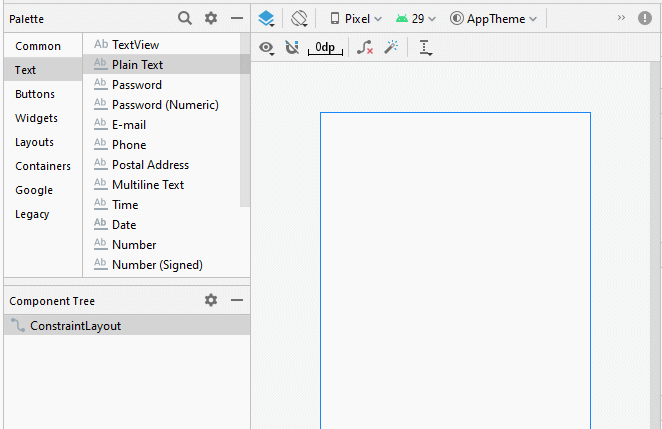
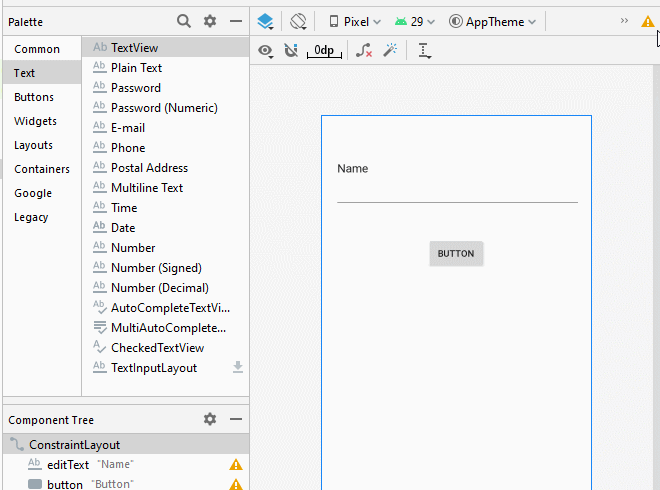
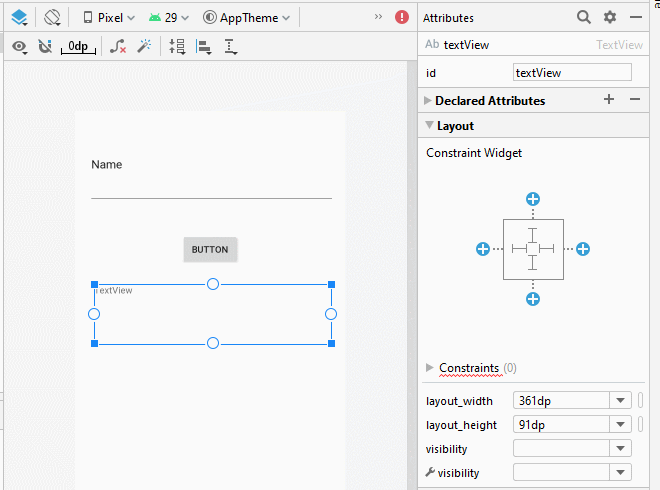
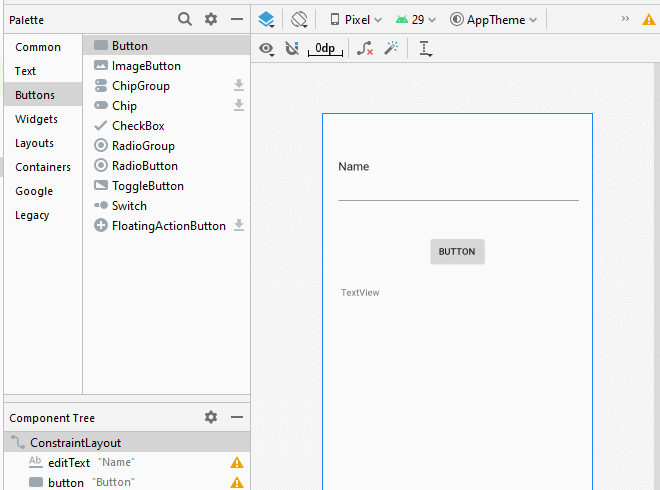
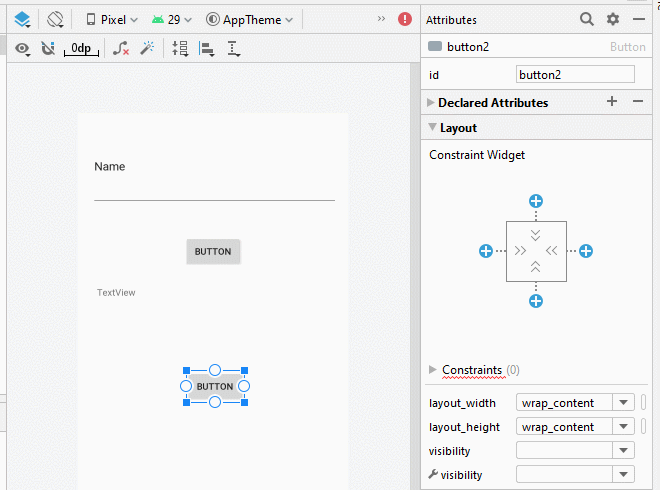
Интерфейс приложения:
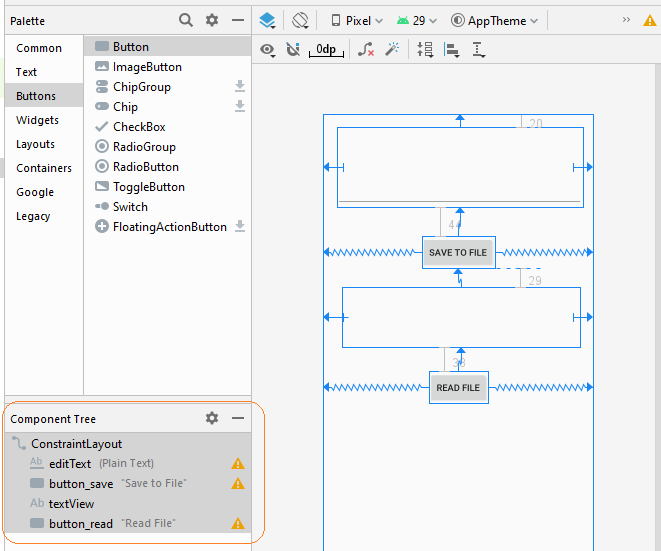
The interface of this application is very simple, if you are interested in the steps to create it, see the appendix at the end of the article.
activity_main.xml
<?xml version="1.0" encoding="utf-8"?>
<androidx.constraintlayout.widget.ConstraintLayout
xmlns:android="http://schemas.android.com/apk/res/android"
xmlns:app="http://schemas.android.com/apk/res-auto"
xmlns:tools="http://schemas.android.com/tools"
android:layout_width="match_parent"
android:layout_height="match_parent"
tools:context=".MainActivity">
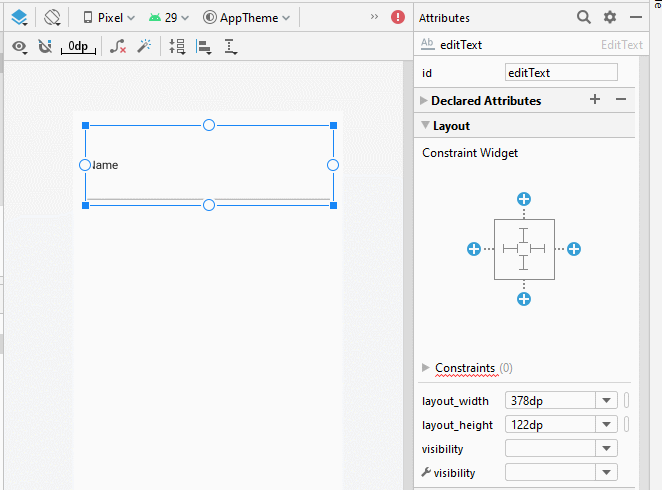
<EditText
android:id="@+id/editText"
android:layout_width="0dp"
android:layout_height="122dp"
android:layout_marginStart="21dp"
android:layout_marginLeft="21dp"
android:layout_marginTop="20dp"
android:layout_marginEnd="16dp"
android:layout_marginRight="16dp"
android:ems="10"
android:inputType="textPersonName"
app:layout_constraintEnd_toEndOf="parent"
app:layout_constraintStart_toStartOf="parent"
app:layout_constraintTop_toTopOf="parent" />
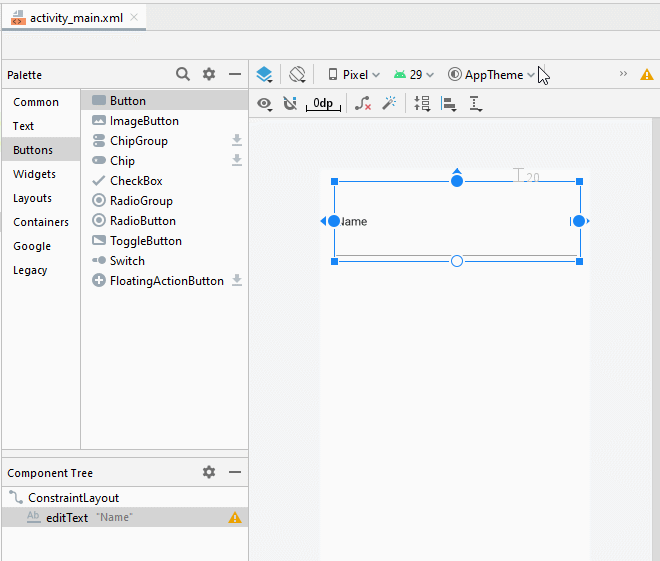
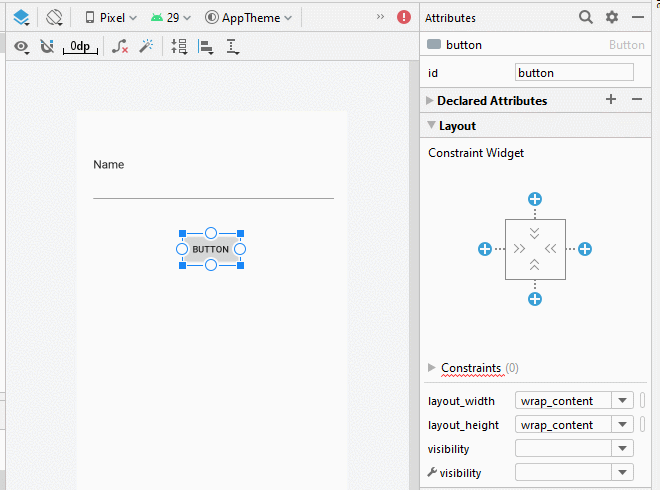
<Button
android:id="@+id/button_save"
android:layout_width="wrap_content"
android:layout_height="wrap_content"
android:layout_marginTop="44dp"
android:text="Save to File"
app:layout_constraintEnd_toEndOf="parent"
app:layout_constraintStart_toStartOf="parent"
app:layout_constraintTop_toBottomOf="@+id/editText" />
<TextView
android:id="@+id/textView"
android:layout_width="0dp"
android:layout_height="91dp"
android:layout_marginStart="29dp"
android:layout_marginLeft="29dp"
android:layout_marginTop="29dp"
android:layout_marginEnd="21dp"
android:layout_marginRight="21dp"
app:layout_constraintEnd_toEndOf="parent"
app:layout_constraintStart_toStartOf="parent"
app:layout_constraintTop_toBottomOf="@+id/button_save" />
<Button
android:id="@+id/button_read"
android:layout_width="wrap_content"
android:layout_height="wrap_content"
android:layout_marginTop="38dp"
android:text="Read File"
app:layout_constraintEnd_toEndOf="parent"
app:layout_constraintStart_toStartOf="parent"
app:layout_constraintTop_toBottomOf="@+id/textView" />
</androidx.constraintlayout.widget.ConstraintLayout>MainActivity.java
package org.o7planning.internalstoragedemo;
import android.os.Bundle;
import androidx.appcompat.app.AppCompatActivity;
import android.view.View;
import android.widget.Button;
import android.widget.EditText;
import android.widget.TextView;
import android.widget.Toast;
import java.io.BufferedReader;
import java.io.FileInputStream;
import java.io.FileOutputStream;
import java.io.InputStreamReader;
public class MainActivity extends AppCompatActivity {
private Button saveButton;
private Button readButton;
private TextView textView;
private EditText editText;
// Is a simple file name.
// Note!! Do not allow the path.
private String simpleFileName = "note.txt";
@Override
protected void onCreate(Bundle savedInstanceState) {
super.onCreate(savedInstanceState);
setContentView(R.layout.activity_main);
this.saveButton = (Button) this.findViewById(R.id.button_save);
this.readButton = (Button) this.findViewById(R.id.button_read);
this.textView = (TextView) this.findViewById(R.id.textView);
this.editText = (EditText) this.findViewById(R.id.editText);
this.saveButton.setOnClickListener(new Button.OnClickListener() {
@Override
public void onClick(View v) {
saveData();
}
});
this.readButton.setOnClickListener(new Button.OnClickListener() {
@Override
public void onClick(View v) {
readData();
}
});
}
private void saveData() {
String data = this.editText.getText().toString();
try {
// Open Stream to write file.
FileOutputStream out = this.openFileOutput(simpleFileName, MODE_PRIVATE);
// Ghi dữ liệu.
out.write(data.getBytes());
out.close();
Toast.makeText(this,"File saved!",Toast.LENGTH_SHORT).show();
} catch (Exception e) {
Toast.makeText(this,"Error:"+ e.getMessage(),Toast.LENGTH_SHORT).show();
}
}
private void readData() {
try {
// Open stream to read file.
FileInputStream in = this.openFileInput(simpleFileName);
BufferedReader br= new BufferedReader(new InputStreamReader(in));
StringBuilder sb= new StringBuilder();
String s= null;
while((s= br.readLine())!= null) {
sb.append(s).append("\n");
}
this.textView.setText(sb.toString());
} catch (Exception e) {
Toast.makeText(this,"Error:"+ e.getMessage(),Toast.LENGTH_SHORT).show();
}
}
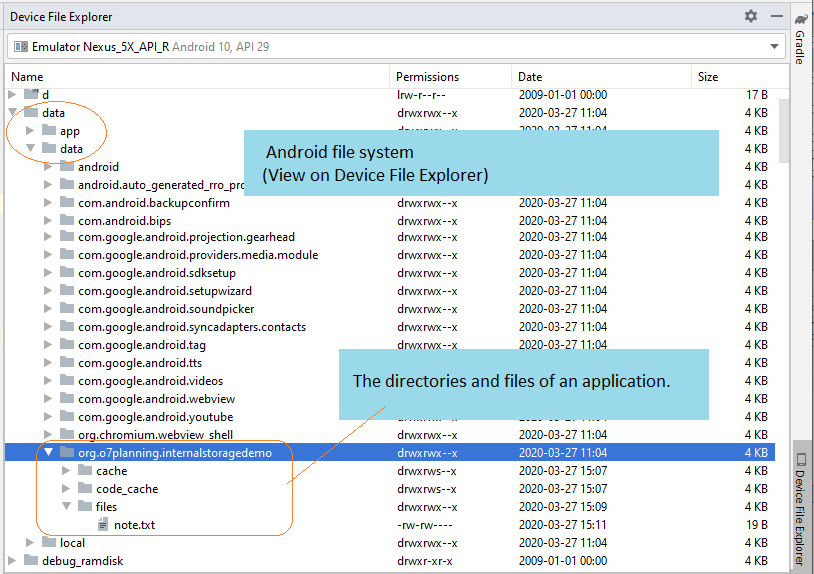
}Используйте "Android Device Manager", чтобы посмотреть созданный файл в системе.

See more about "Device File Explorer":

Pуководства Android
- Настроить Android Emulator в Android Studio
- Руководство Android ToggleButton
- Создать простой File Finder Dialog в Android
- Руководство Android TimePickerDialog
- Руководство Android DatePickerDialog
- Что мне нужно для начала работы с Android?
- Установите Android Studio в Windows
- Установите Intel® HAXM для Android Studio
- Руководство Android AsyncTask
- Руководство Android AsyncTaskLoader
- Руководство Android для начинающих - основные примеры
- Как узнать номер телефона Android Emulator и изменить его?
- Руководство Android TextInputLayout
- Руководство Android CardView
- Руководство Android ViewPager2
- Получить номер телефона в Android с помощью TelephonyManager
- Руководство Android Phone Call
- Руководство Android Wifi Scanning
- Руководство Android 2D Game для начинающих
- Руководство Android DialogFragment
- Руководство Android CharacterPickerDialog
- Руководство Android для начинающих - Hello Android
- Использование Android Device File Explorer
- Включить USB Debugging на устройстве Android
- Руководство Android UI Layouts
- Руководство Android SMS
- Руководство Android SQLite Database
- Руководство Google Maps Android API
- Руководство Текст в речь на Android
- Руководство Android Space
- Руководство Android Toast
- Создание пользовательских Android Toast
- Руководство Android SnackBar
- Руководство Android TextView
- Руководство Android TextClock
- Руководство Android EditText
- Руководство Android TextWatcher
- Форматирование номера кредитной карты с помощью Android TextWatcher
- Руководство Android Clipboard
- Создать простой File Chooser в Android
- Руководство Android AutoCompleteTextView и MultiAutoCompleteTextView
- Руководство Android ImageView
- Руководство Android ImageSwitcher
- Руководство Android ScrollView и HorizontalScrollView
- Руководство Android WebView
- Руководство Android SeekBar
- Руководство Android Dialog
- Руководство Android AlertDialog
- Руководство Android RatingBar
- Руководство Android ProgressBar
- Руководство Android Spinner
- Руководство Android Button
- Руководство Android Switch
- Руководство Android ImageButton
- Руководство Android FloatingActionButton
- Руководство Android CheckBox
- Руководство Android RadioGroup и RadioButton
- Руководство Android Chip и ChipGroup
- Использование Image assets и Icon assets Android Studio
- Настройка SD Card для Android Emulator
- Пример ChipGroup и Chip Entry
- Как добавить внешние библиотеки в Android Project в Android Studio?
- Как отключить разрешения, уже предоставленные приложению Android?
- Как удалить приложения из Android Emulator?
- Руководство Android LinearLayout
- Руководство Android TableLayout
- Руководство Android FrameLayout
- Руководство Android QuickContactBadge
- Руководство Android StackView
- Руководство Android Camera
- Руководство Android MediaPlayer
- Руководство Android VideoView
- Воспроизведение звуковых эффектов в Android с помощью SoundPool
- Руководство Android Networking
- Руководство Android JSON Parser
- Руководство Android SharedPreferences
- Руководство Android Internal Storage
- Руководство Android External Storage
- Руководство Android Intents
- Пример явного Android Intent, вызов другого Intent
- Пример неявного Android Intent, откройте URL, отправьте email
- Руководство Android Services
- Использовать оповещения в Android - Android Notification
- Руководство Android DatePicker
- Руководство Android TimePicker
- Руководство Android Chronometer
- Руководство Android OptionMenu
- Руководство Android ContextMenu
- Руководство Android PopupMenu
- Руководство Android Fragment
- Руководство Android ListView
- Android ListView с Checkbox с помощью ArrayAdapter
- Руководство Android GridView
Show More